6.1.7 Exporting or Scheduling a Report
(Video instructions available: Exporting Reports)
Supervisors can send reports to their Genesys inbox and any external email address as the immediate export of the current view or can schedule a single email or recurring future emails. Agent Performance, Agent Status, Queue Performance, and Interactions reports can be exported. Dashboards cannot be exported. By default, time values are displayed in milliseconds. See Section 6.1.7.1 Export a Report, Step 8, below, for time formatting.
Select the help button in the bottom left corner of the window for help text specific to this view.
6.1.7.1 Export a Report
Complete the following steps to send a report to your Genesys inbox and optionally, to external email addresses.
- Click the export button to open the export panel.
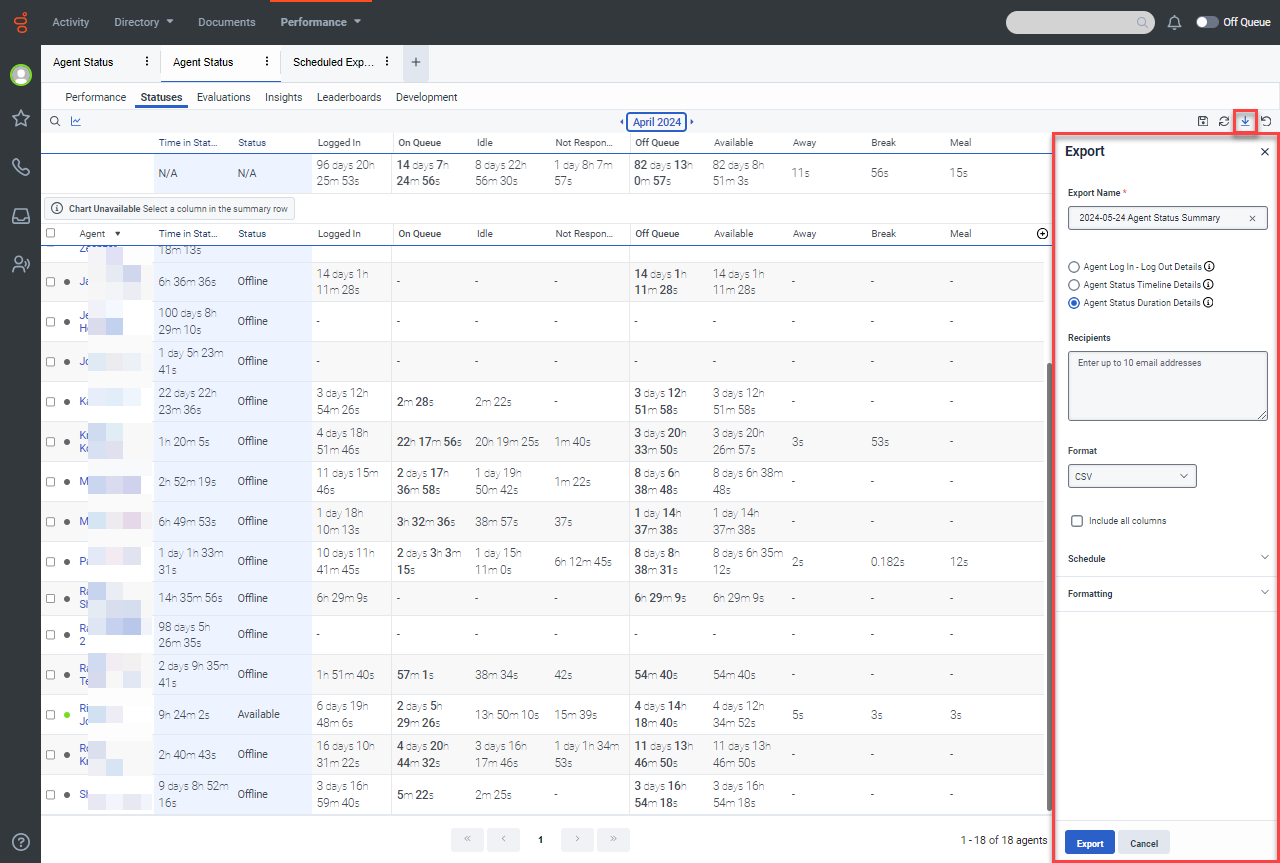
- Optionally, enter a name for the exported file or accept the default.
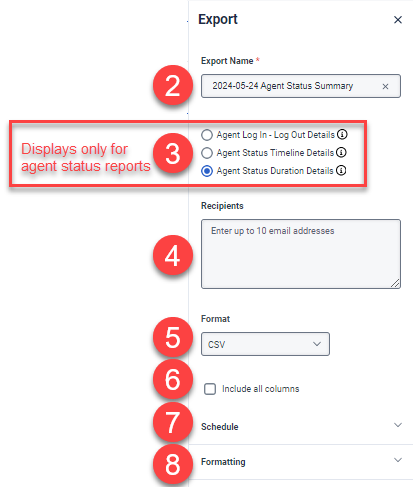
- For agent status reports only, choose the information to be included:
- Agent login and logout activity
- Details of agent status changes
- Agent time spent in each status
- Optionally, enter up to 10 email addresses that are to receive the report in addition to your Genesys inbox.
- Select if the report is to be a comma separated value (CSV) file that can be displayed in Excel or a PDF file.
- Check the Include all columns box to include all columns that can be displayed in the view. Leave it unchecked to include only the currently displayed columns.
- Schedule future delivery of reports. By default, the current view with current information is sent once. See Section 6.1.7.2 Schedule a Report to set up future one-time or recurring reports.
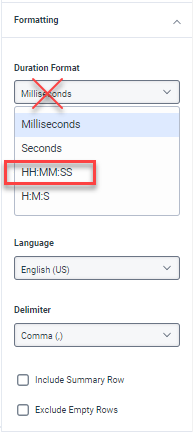
- Select the time format as HH:MM:SS, otherwise time may be presented in milliseconds.
- Click Export to send the report.
6.1.7.2 Schedule a Report
To schedule a single or recurring future report, complete steps 1-6 in Section 6.1.7.1 Export a Report, then click schedule to expand the menu. By default, the report is scheduled to be run one time when the Export is clicked.
- Select Recurring to display future scheduling options.
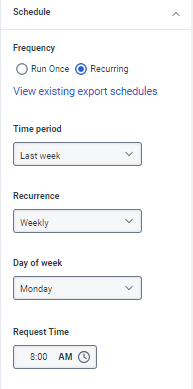
- Select the time period of the displayed view to be sent. The selected time is relative to the day the report is sent. For example, recurring weekly reports of "Past 7 days" includes the seven days prior to the delivery date.
- Select the recurrence to specify how often future reports are to be sent.
- Select the day of the week for report delivery.
- Select the time of day for report delivery.
- Set the time format as shown in Section 6.1.7.1 Export a Report, Step 8.
- Click Export to start the schedule.
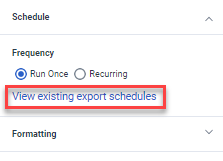
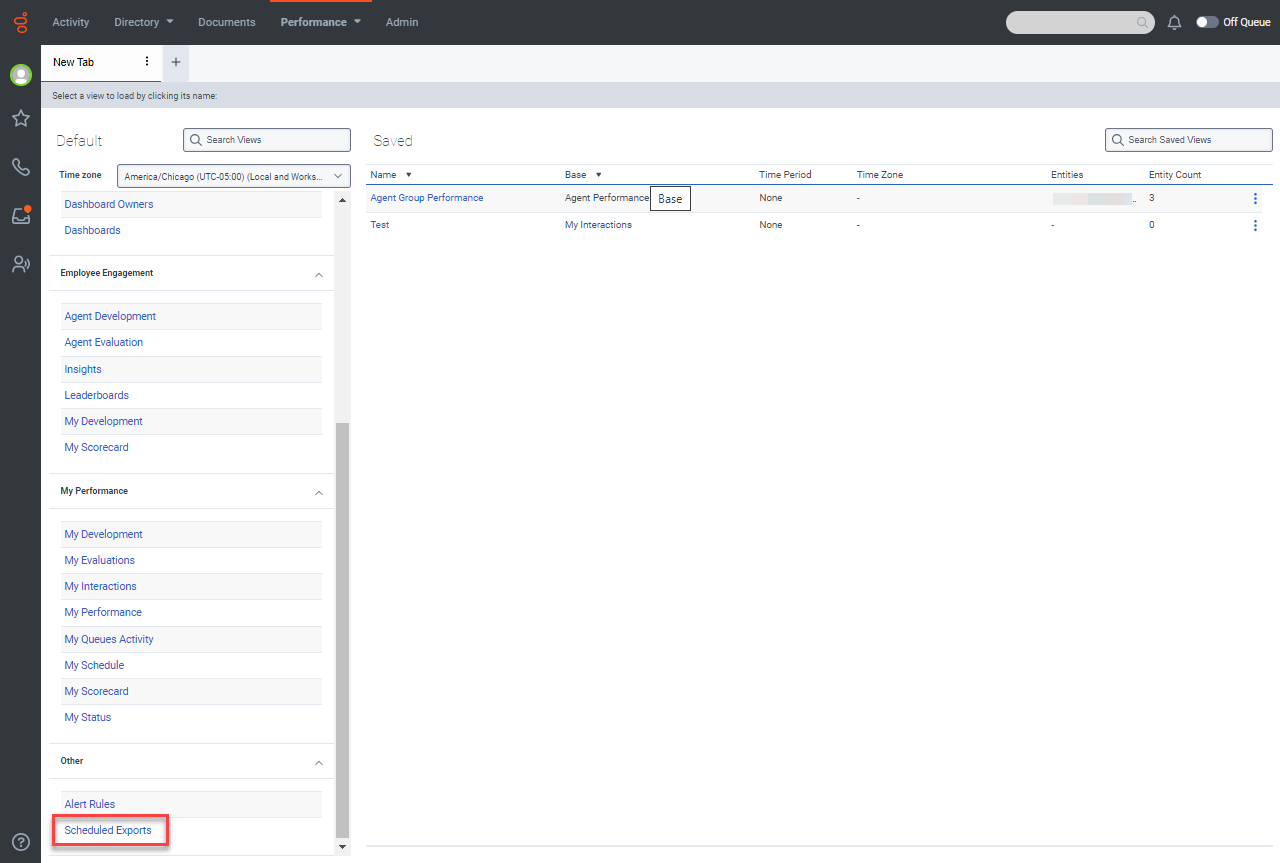
Note that you can open the Scheduled Exports view to enable/disable, run, edit, or delete existing schedules by clicking View existing export schedules in the Export pane or by opening a new tab and selecting the Scheduled Exports.
Opening export schedules from the Export pane:
Opening export schedules from a new tab:
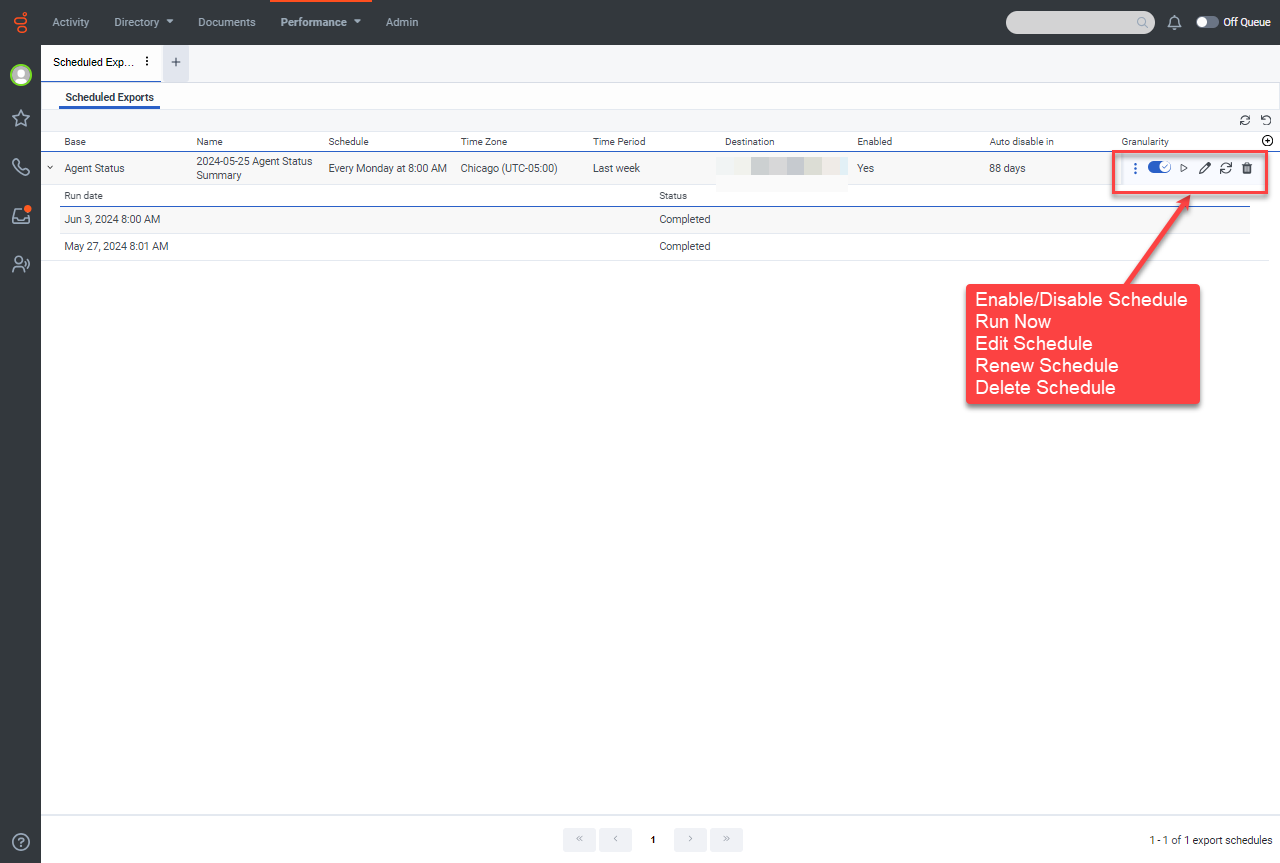
Scheduled Exports showing completed exports sent to supervisor and schedule controls.
This page last updated in Release Number: 24-01
Release Date:12/18/2024
Effective Date: 12/18//2024