6.1 Introduction to Performance
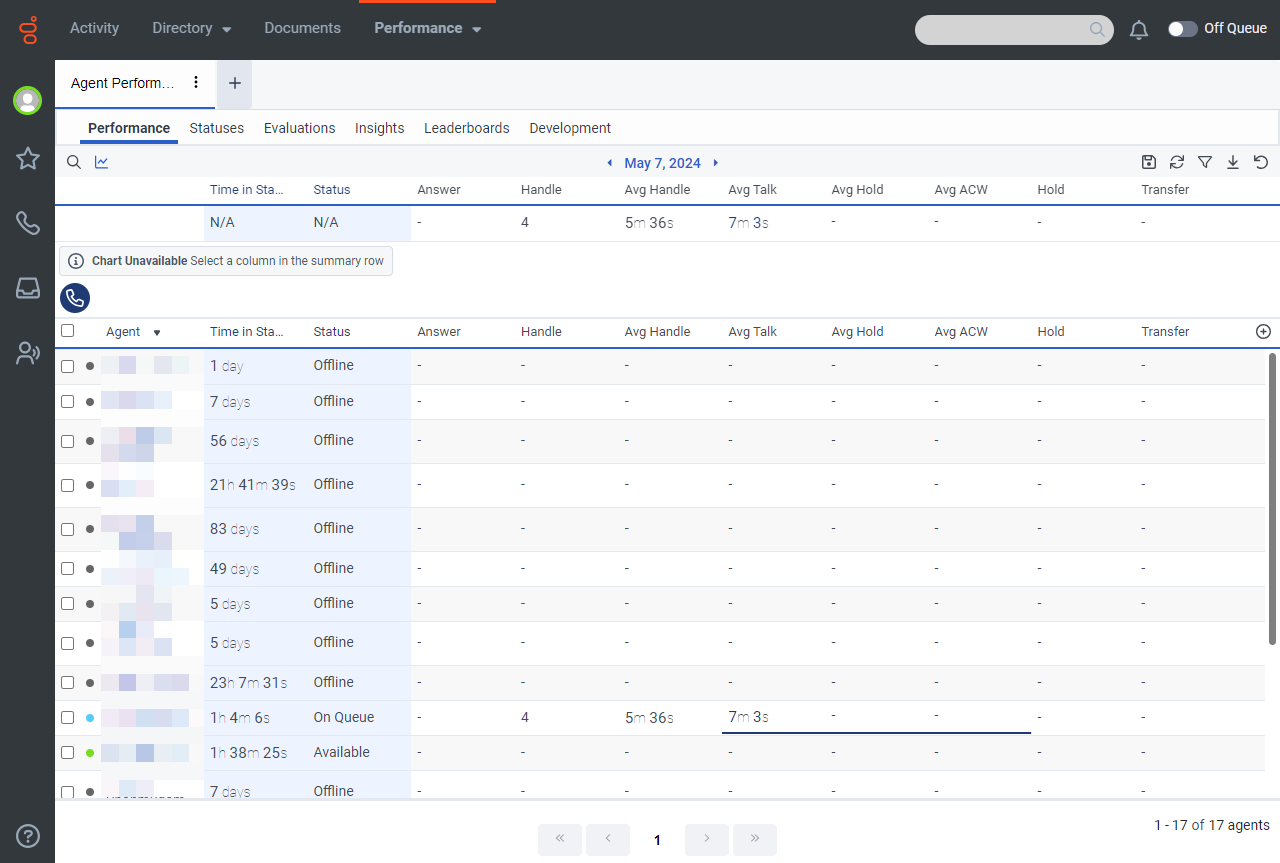
6.1.1 Viewing Agent Performance Statistics (Video instructions available: Viewing Agent Performance Statistics)
6.1.1.1 Default Agent Performance View
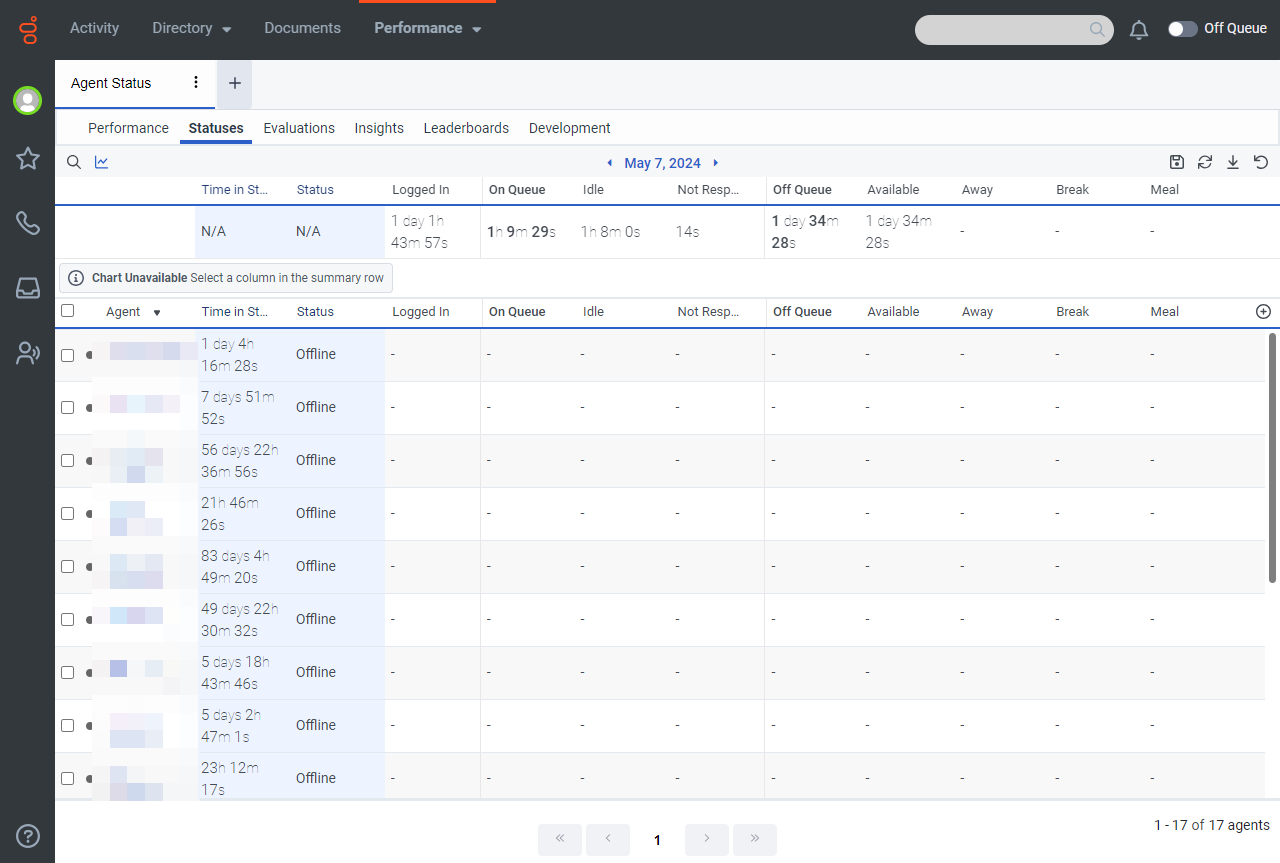
6.1.2 Viewing Agent Status (Video instructions available: Viewing Agent Status)
6.1.2.1.1 Busy Secondary Statuses
6.1.2.2 Status, Secondary Status, and Routing Status
6.1.2.3 Add Secondary and Routing Status to the Agent Status View
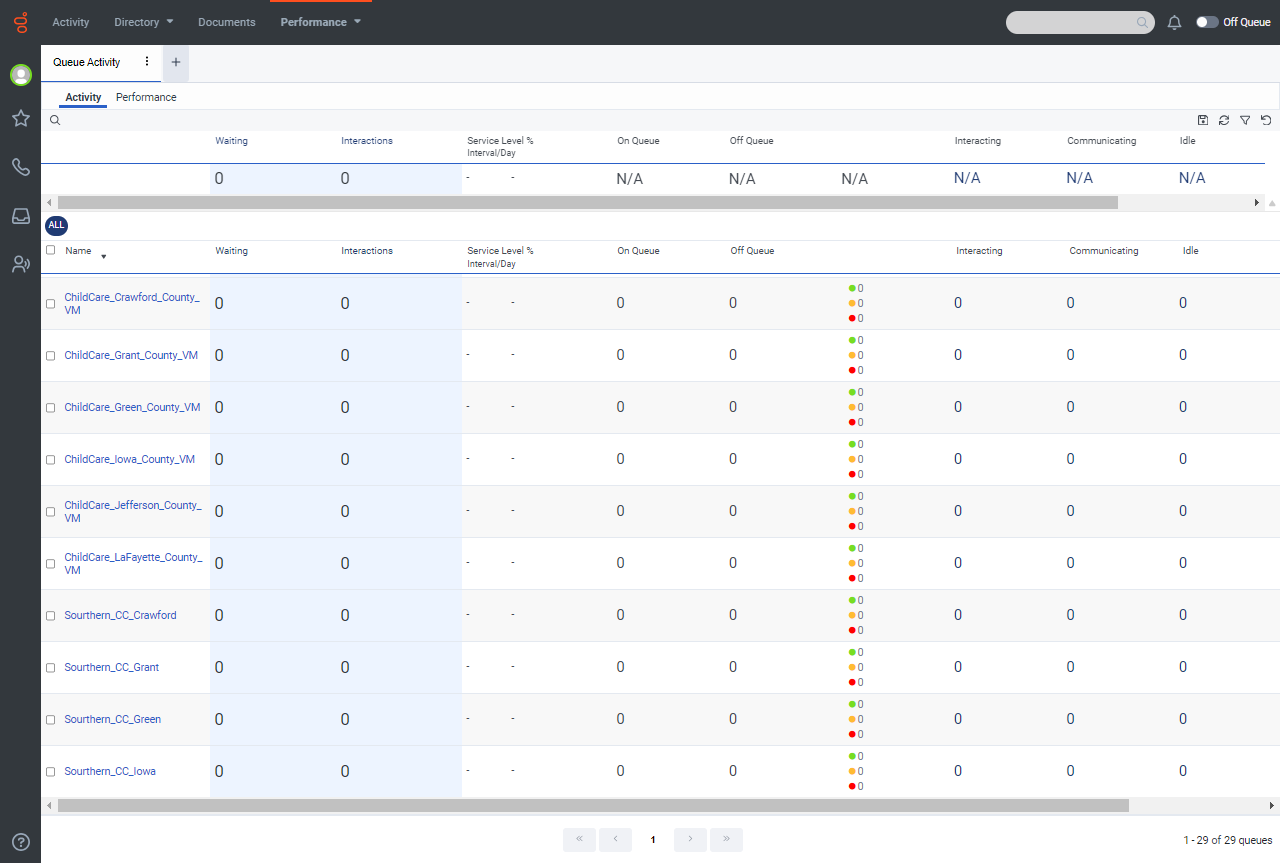
6.1.3 Viewing Queue Activity (Video instructions available: Viewing Queue Activity)
6.1.3.1 Default Queue Activity View
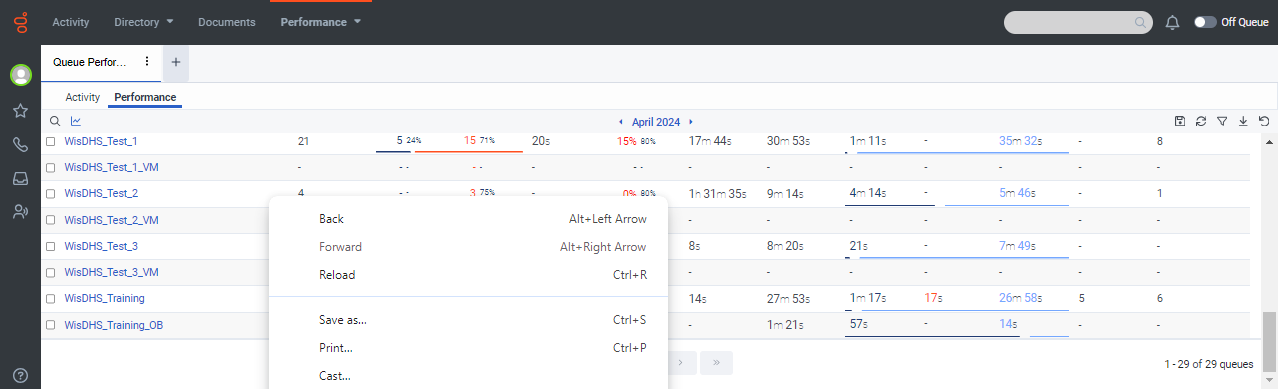
6.1.4 Viewing Queue Performance (Video instructions available: Viewing Queue Performance)
6.1.4.1 Default Queue Performance View
6.1.5 Viewing Interaction Details (Video instructions available: Viewing Interaction Details)
6.1.5.1 Default Interactions View
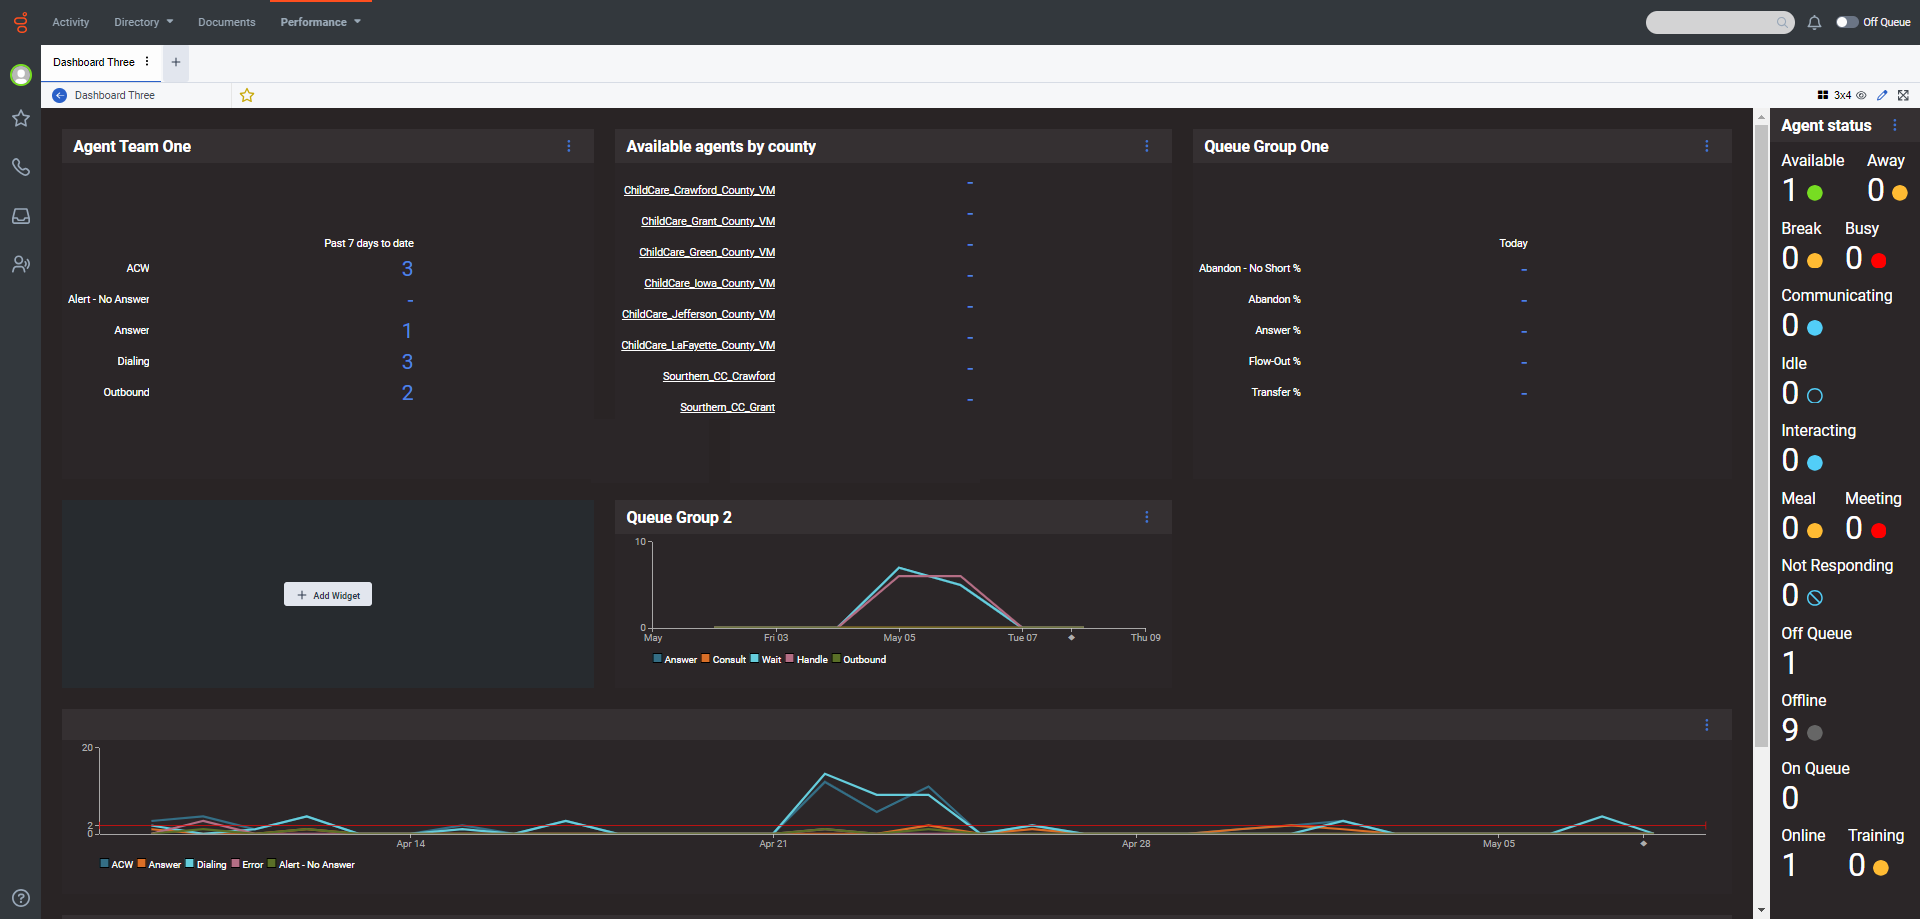
6.1.6 Creating a Dashboard (Video instructions available: Creating a Dashboard)
6.1.7 Exporting or Scheduling a Report (Video instructions available: Exporting Reports)
6.1.8.1 Renewing Reports (Video instructions available: Renewing Reports)
Use the supervisor workspace views to display agent performance, agent status, queue activity, queue performance, and dashboards. For general information about the communications sidebar and main menu, see section 3.1 Agent Desktop Content Viewer. Select the help button in the bottom left corner of the window for help text specific to this view.
The following views display agent, queue, and call information.
- Agent Performance Show/Hide an example of the view Show/Hide an example of the view See Section 6.1.1 Viewing Agent Performance statistics.
- Agent Status Show/Hide an example of the viewShow/Hide an example of the view See Section 6.1.2 viewing Agent Status.
- Queue Activity Show/Hide an example of the viewShow/Hide an example of the view See Section 6.1.3 viewing Queue Activity.
- Queue Performance Show/Hide an example of the viewShow/Hide an example of the view See Section 6.1.4 viewing Queue Performance.
- Interactions Show/Hide an example of the viewShow/Hide an example of the view see section 6.1.5 Viewing Interaction Details.
- Dashboards Show/Hide an example of the viewShow/Hide an example of the view See Section 6.1.6 Creating a Dashboard.
This section describes general navigation in these views. Section 6.1.1 Viewing Agent Performance Statistics, 6.1.2 Viewing Agent Status, 6.1.3 Viewing Queue Activity, and 6.1.4 Viewing Queue Performance provide view-specific information.
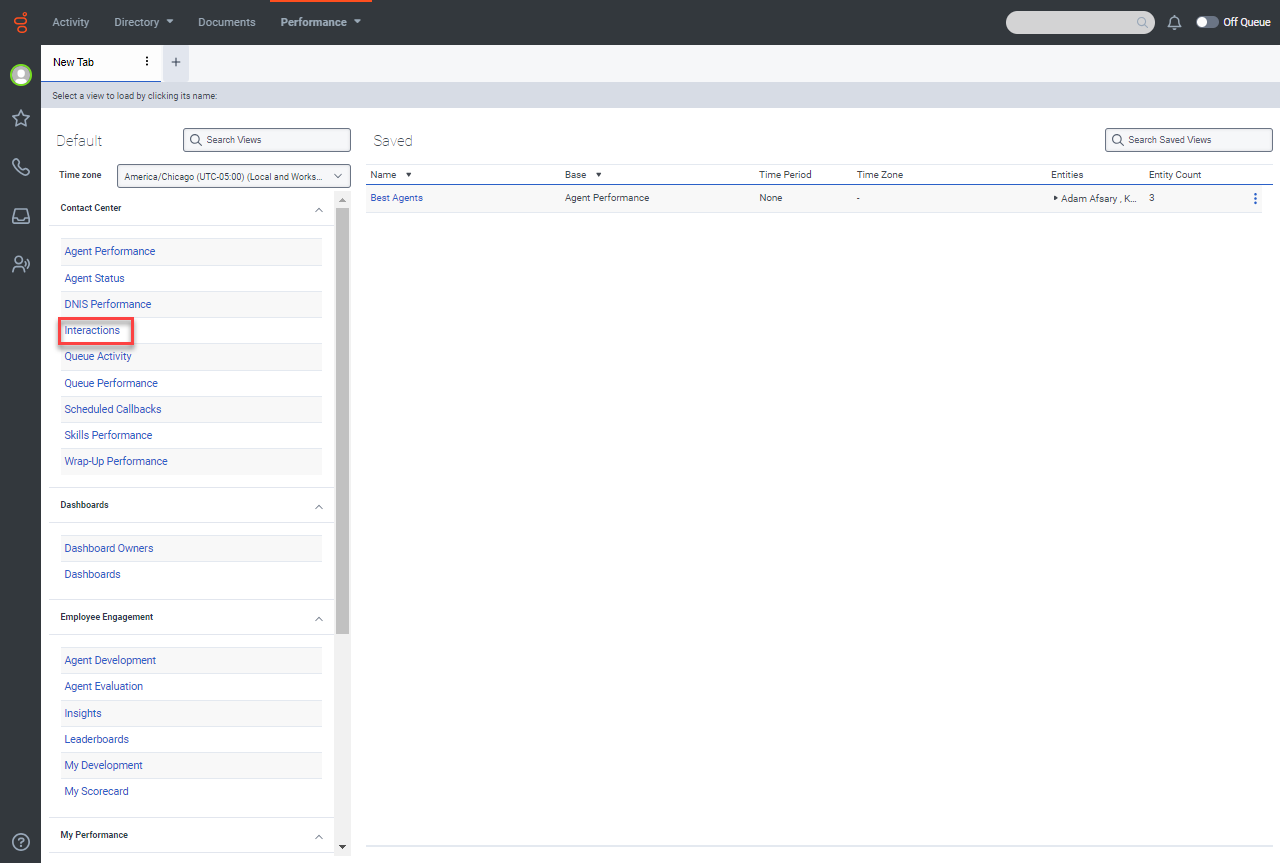
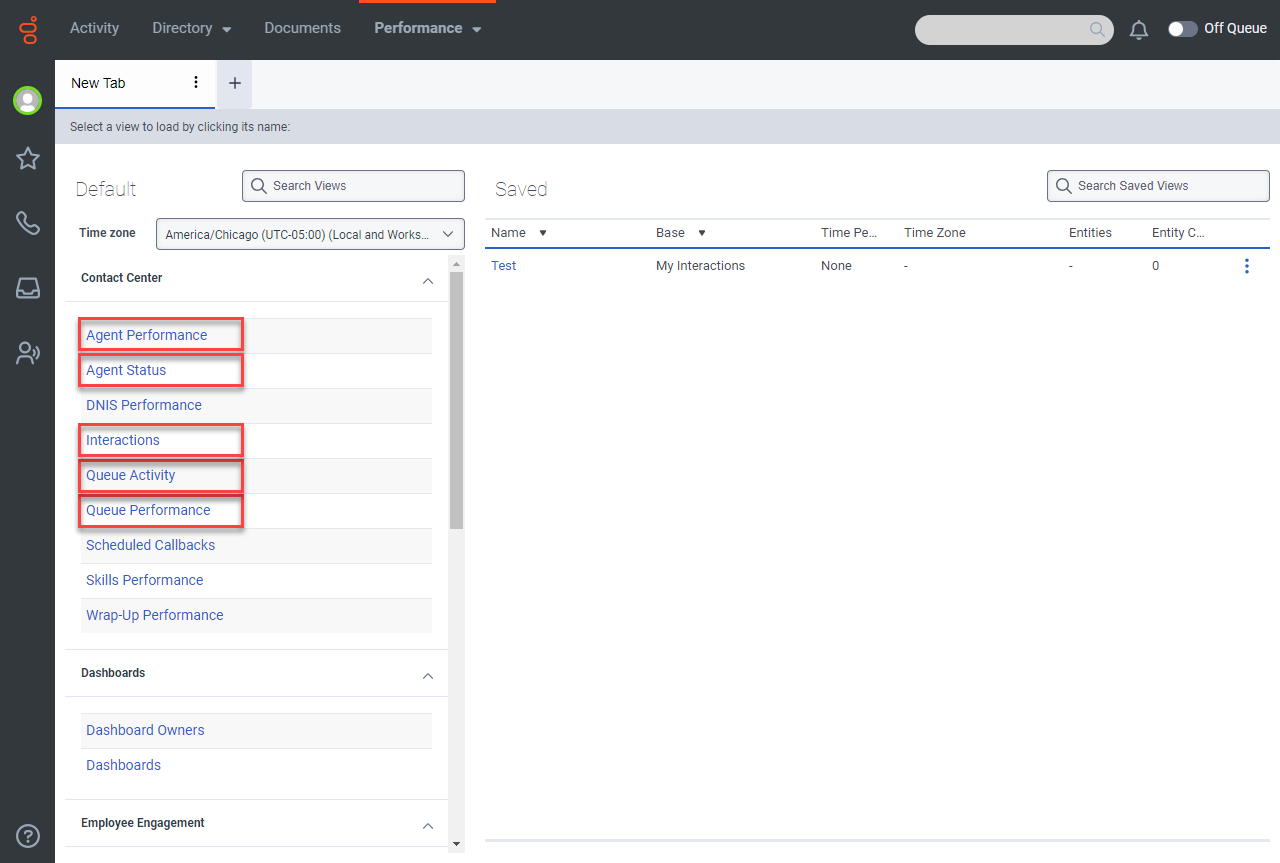
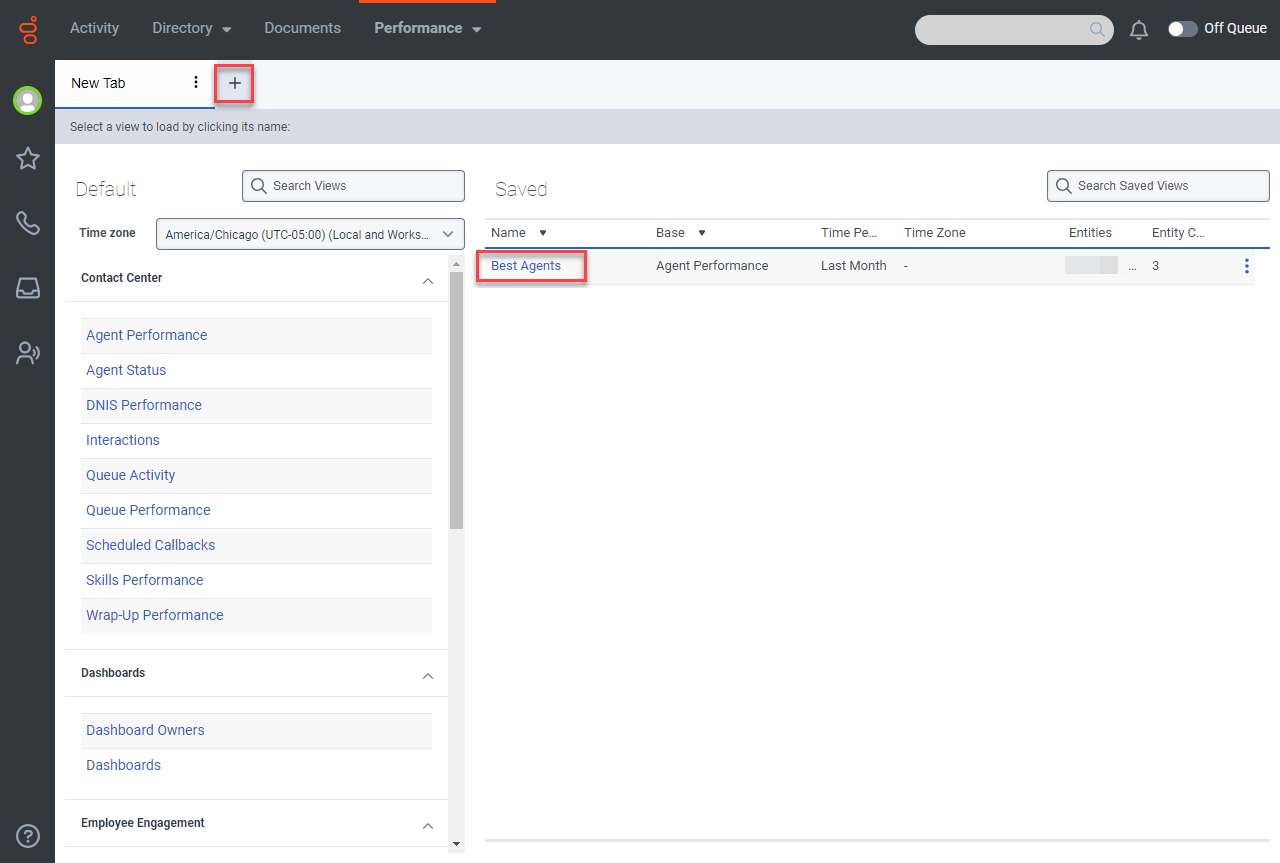
Open a View
To open a view:
- In the Workspace, click the new tab plus button to open a tab.

- Select a view to display.
Add or Remove Columns
Default views include the columns that are most likely needed. The view can be customized by removing or adding columns.
- Click the plus button on the right side of a view to display the Add/Remove Column panel.
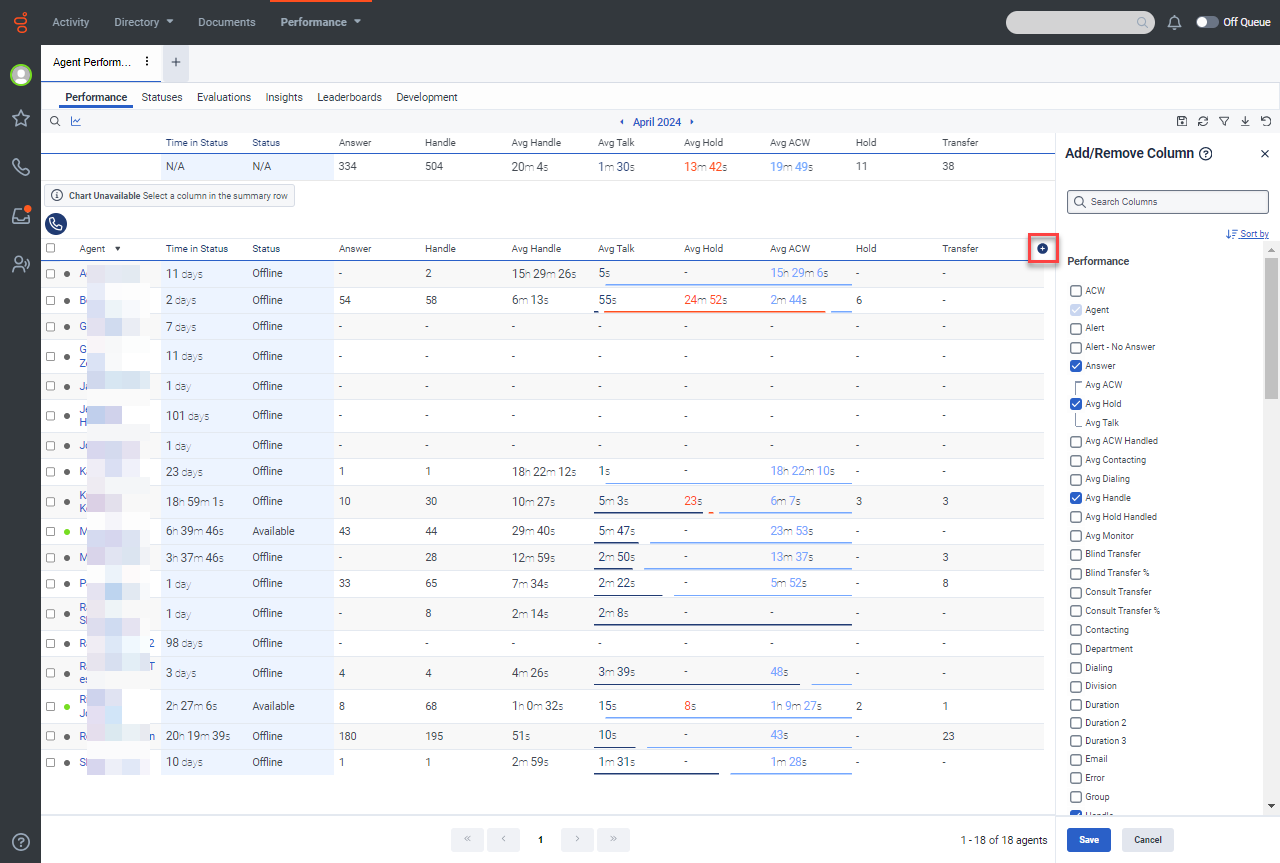
- Click the check boxes to add or remove columns from the display.
- Click Save.
Isolate Selected Items
Click the check boxes next to the agent or queue and click Add to filters to isolate those items.
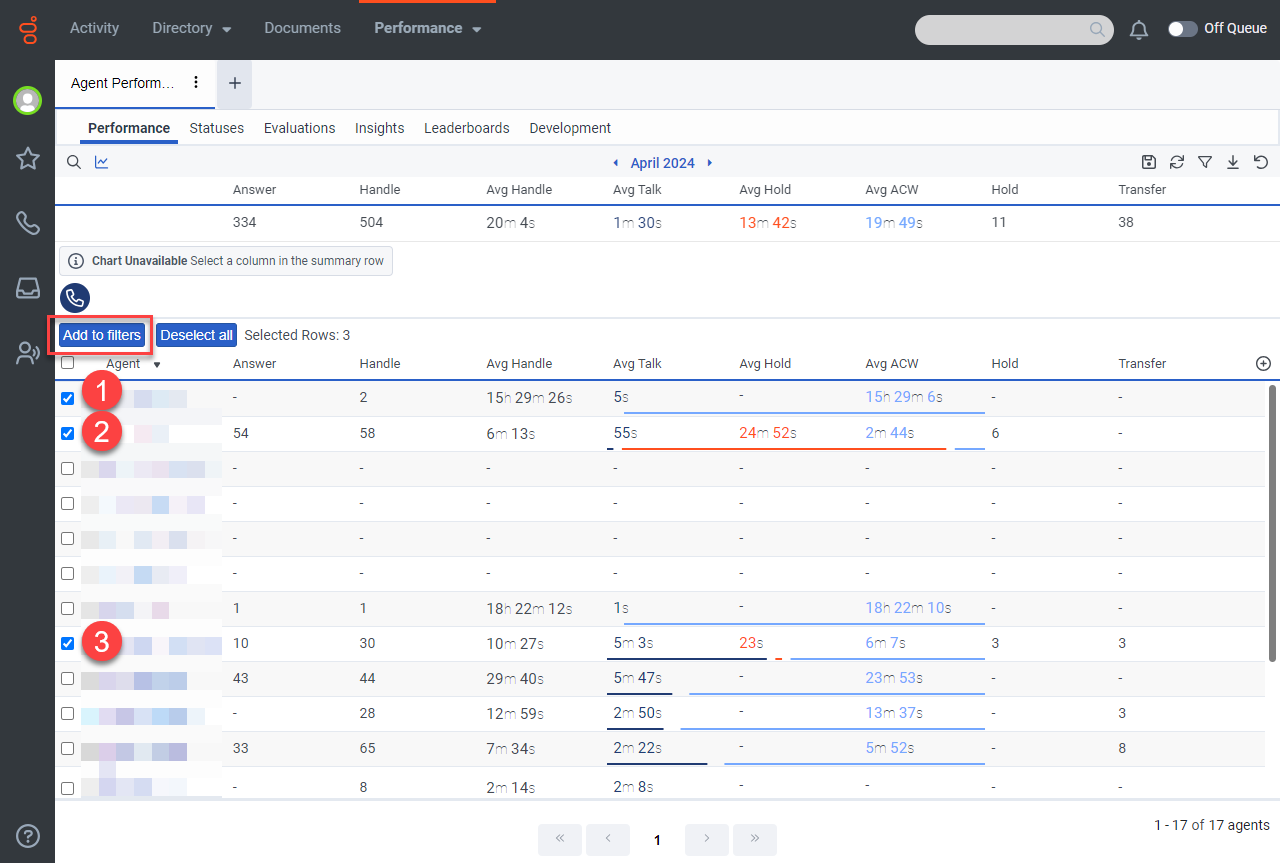
The selected items are displayed individually.
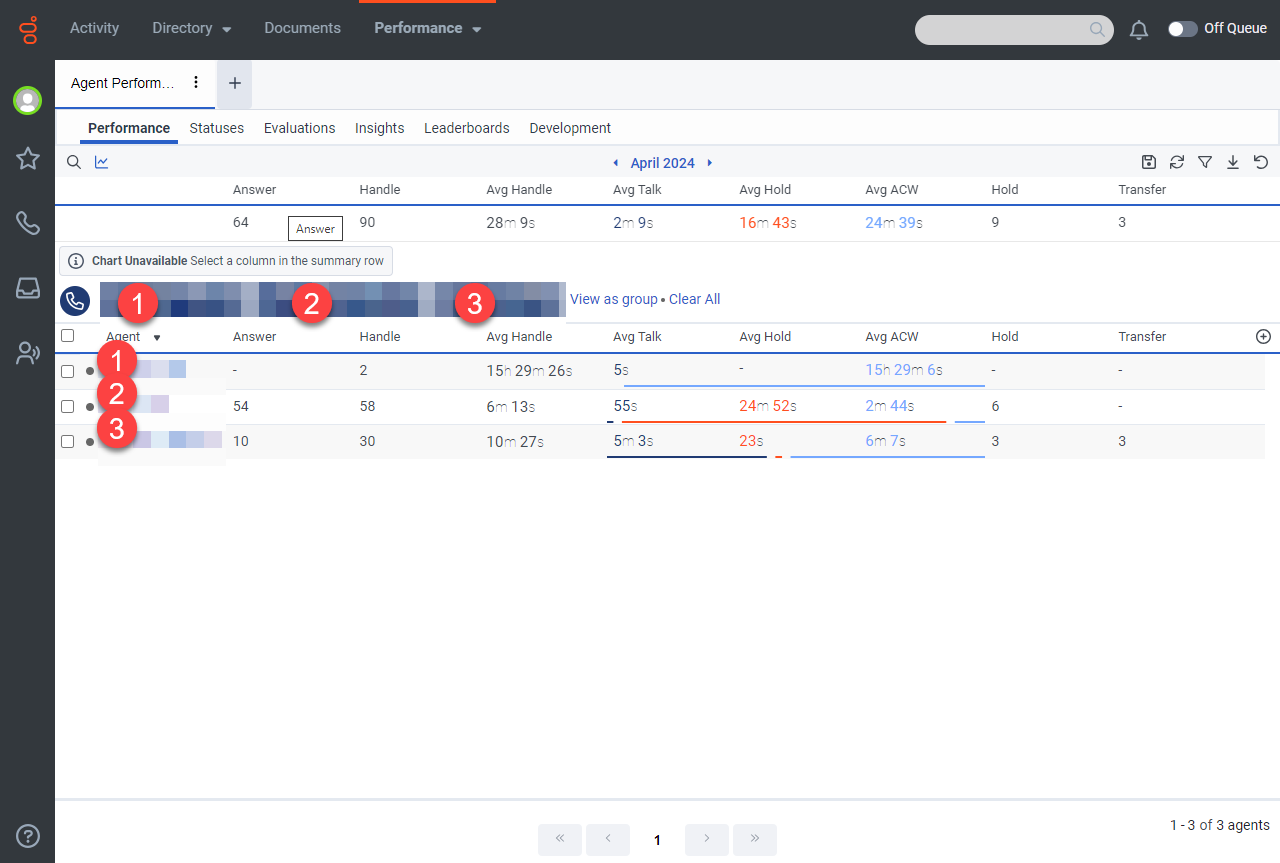
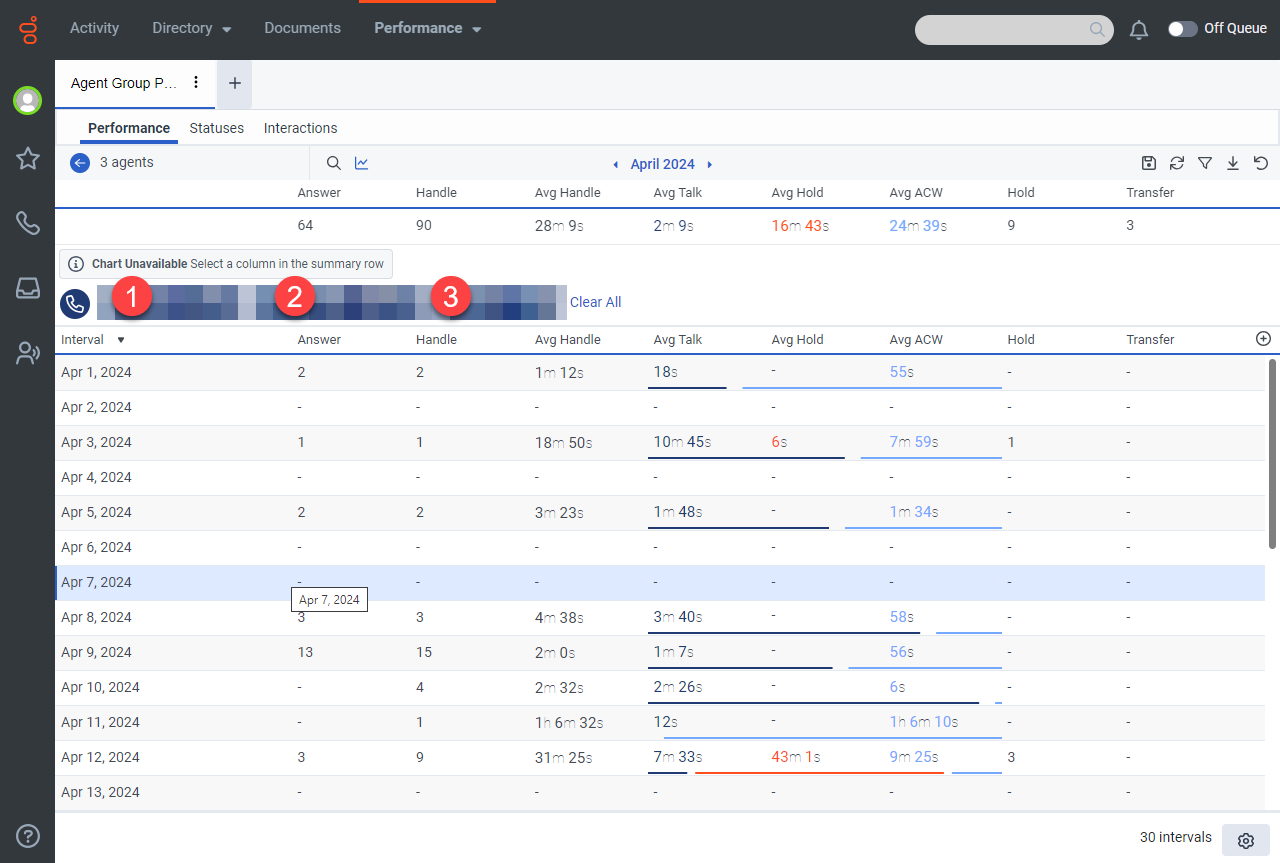
Some views include a View as group button. Click this to aggregate the information for the selected items.
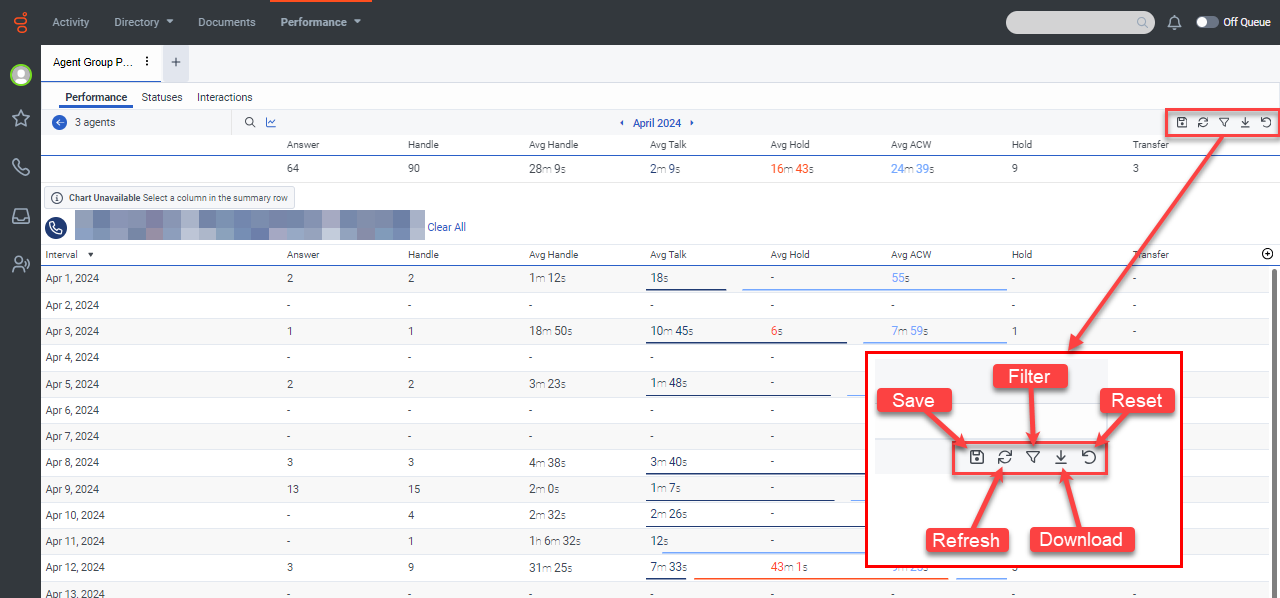
Save, Filter, or Export a View
Use the buttons on the right of the view to save, refresh, filter, or download views.
Save and Open a View
Click Save and enter a name for the saved view. The tab's name displays.
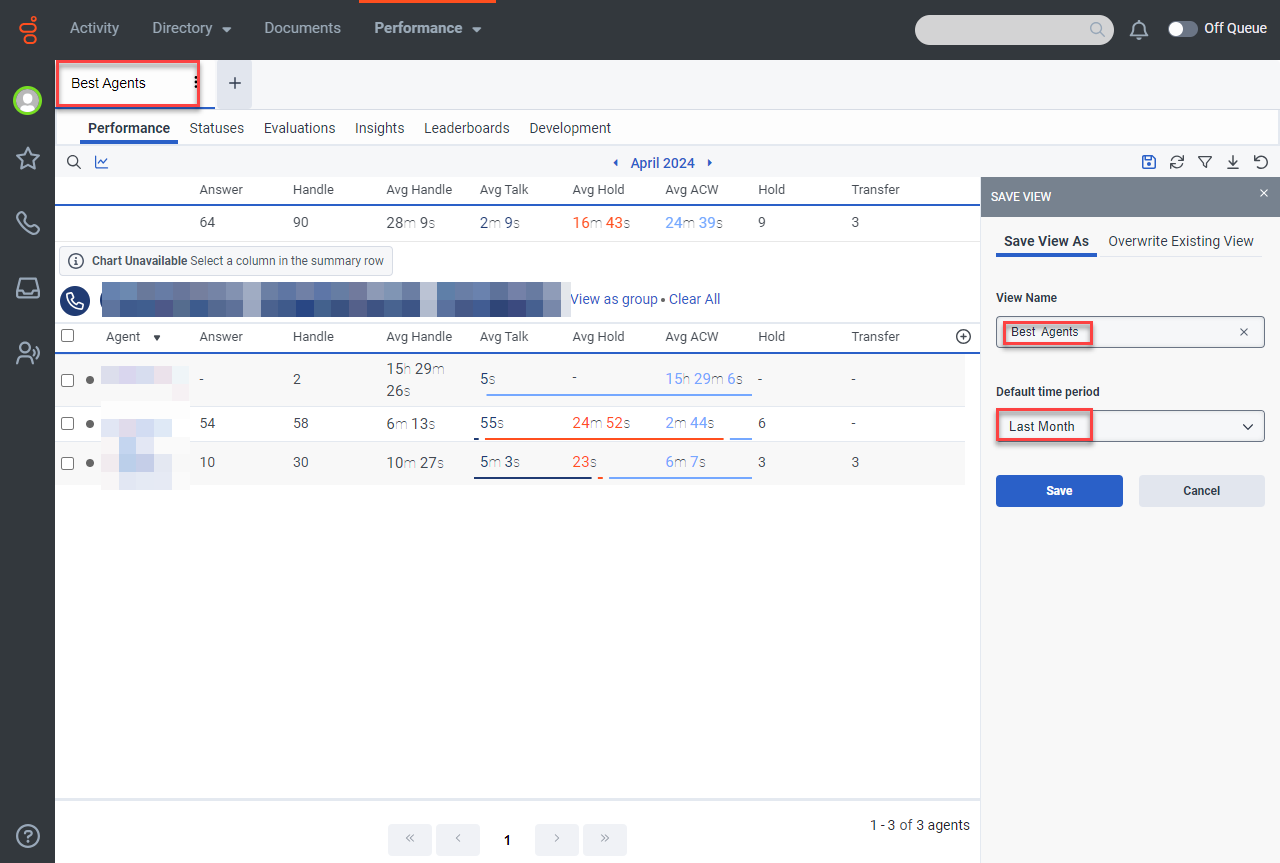
To later open that view, click the new tab plus button and select the saved view from the list.
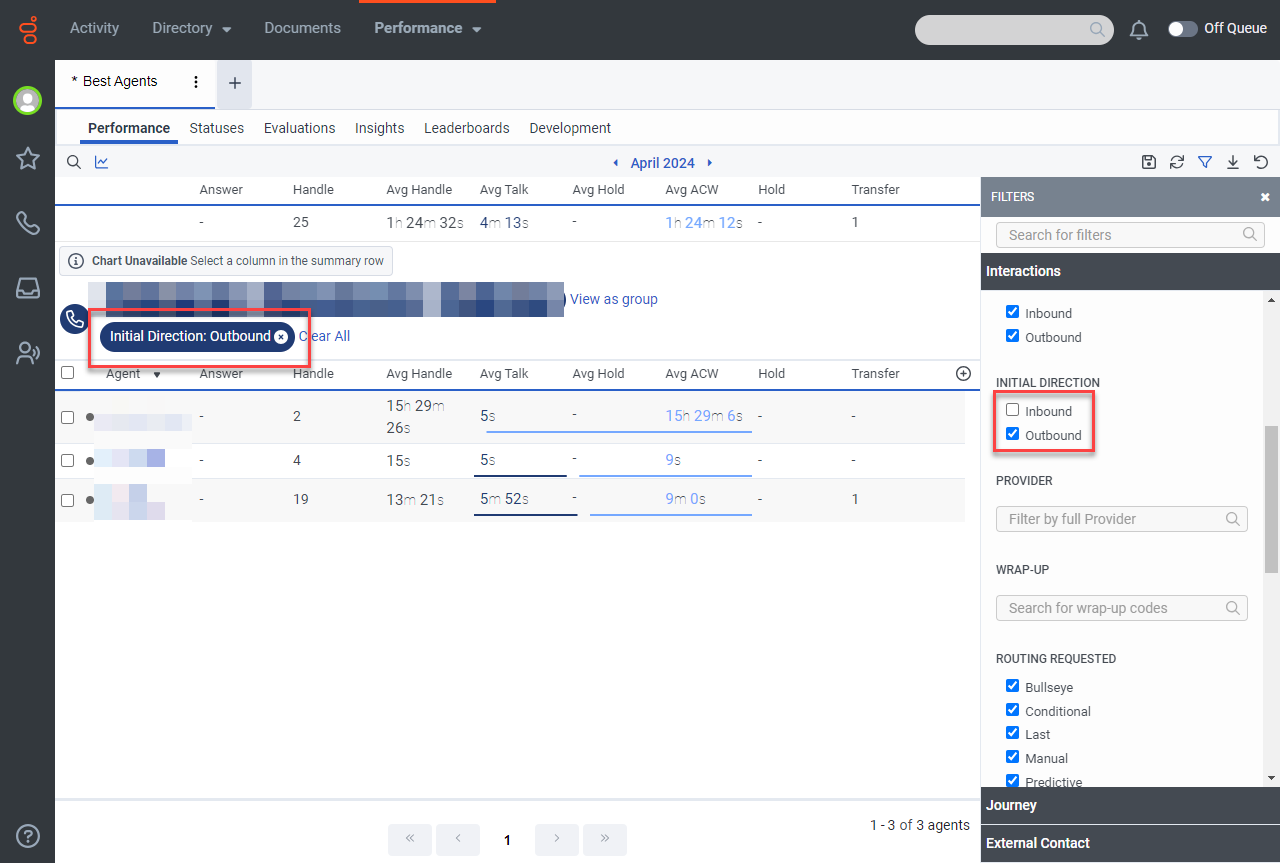
Filter a View
Click the filter button to open the filtering panel, and then select options to change the filtering defaults. Available filters vary by view.
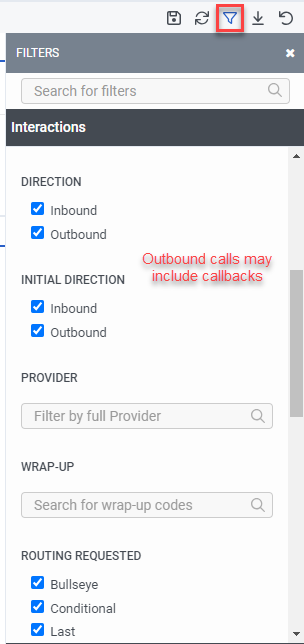
Changes to the default filter settings are displayed in the view.
Reset a View
Click the reset button to reset the view to the defaults or reset a saved view to its saved settings.
This page last updated in Release Number: 25-01
Release Date:04/09/2025
Effective Date: 04/09/2025