9.2.1 Running Reports
(Video instructions available: Running Reports)
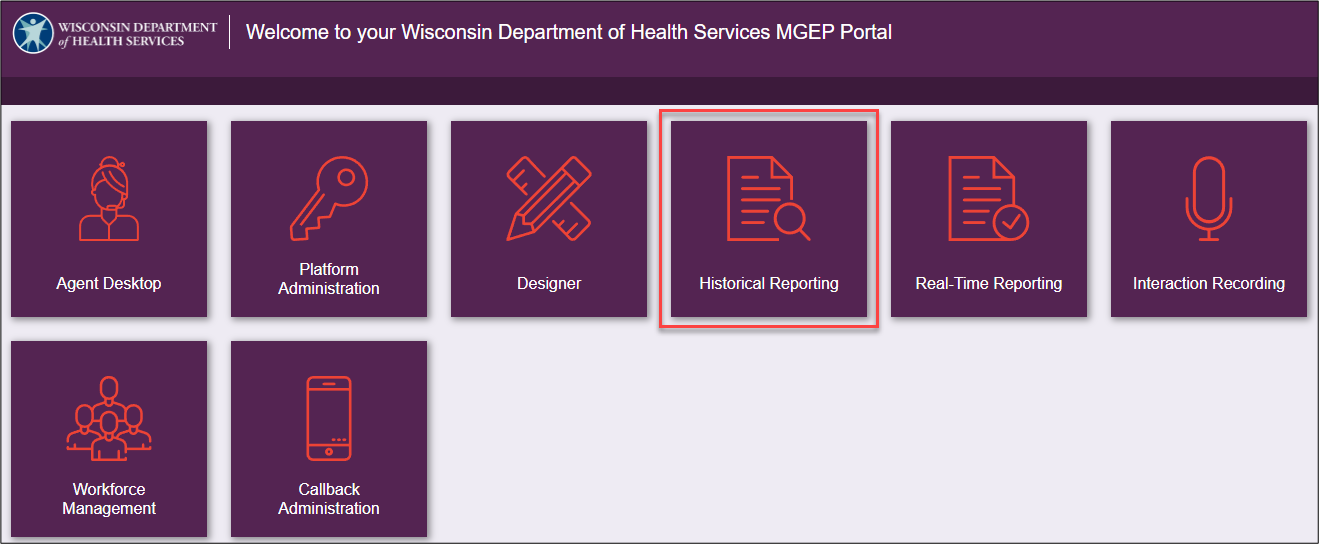
All tasks for managing historical reporting take place in Historical Reporting.
- To log in, open Genesys Portal with Firefox, Edge, or Chrome.
Select Historical Reporting to open the log in page.
- Enter the WAMS ID and password.

- Select CX Insights.

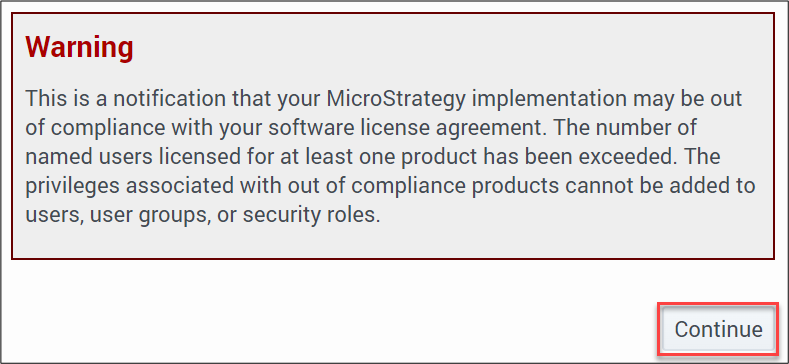
- Warning message displays, select continue.
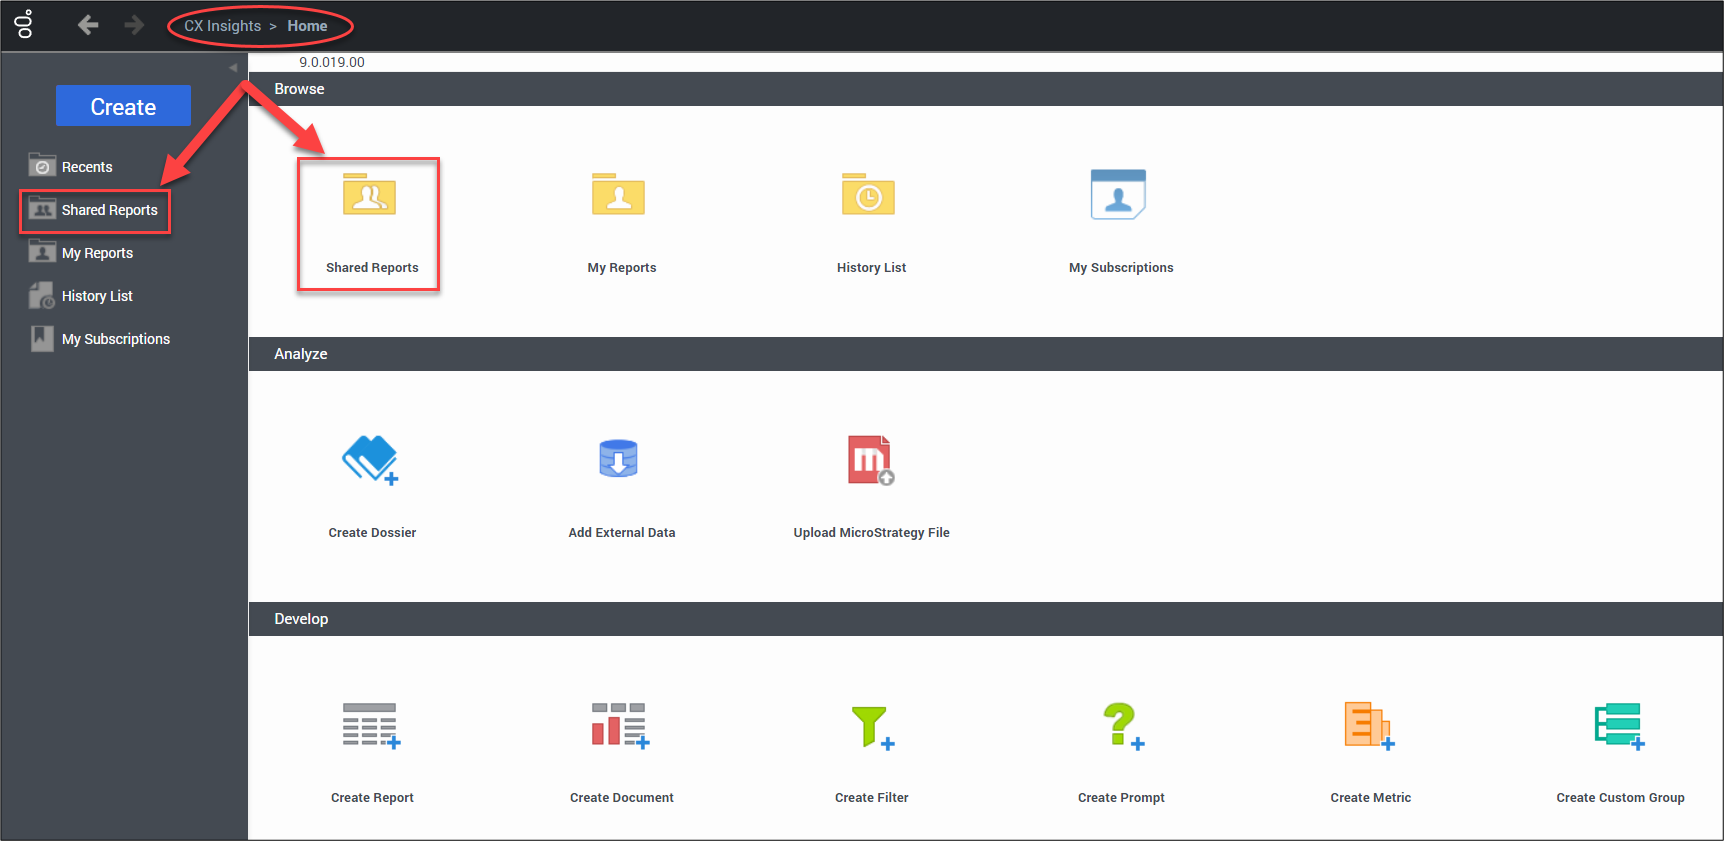
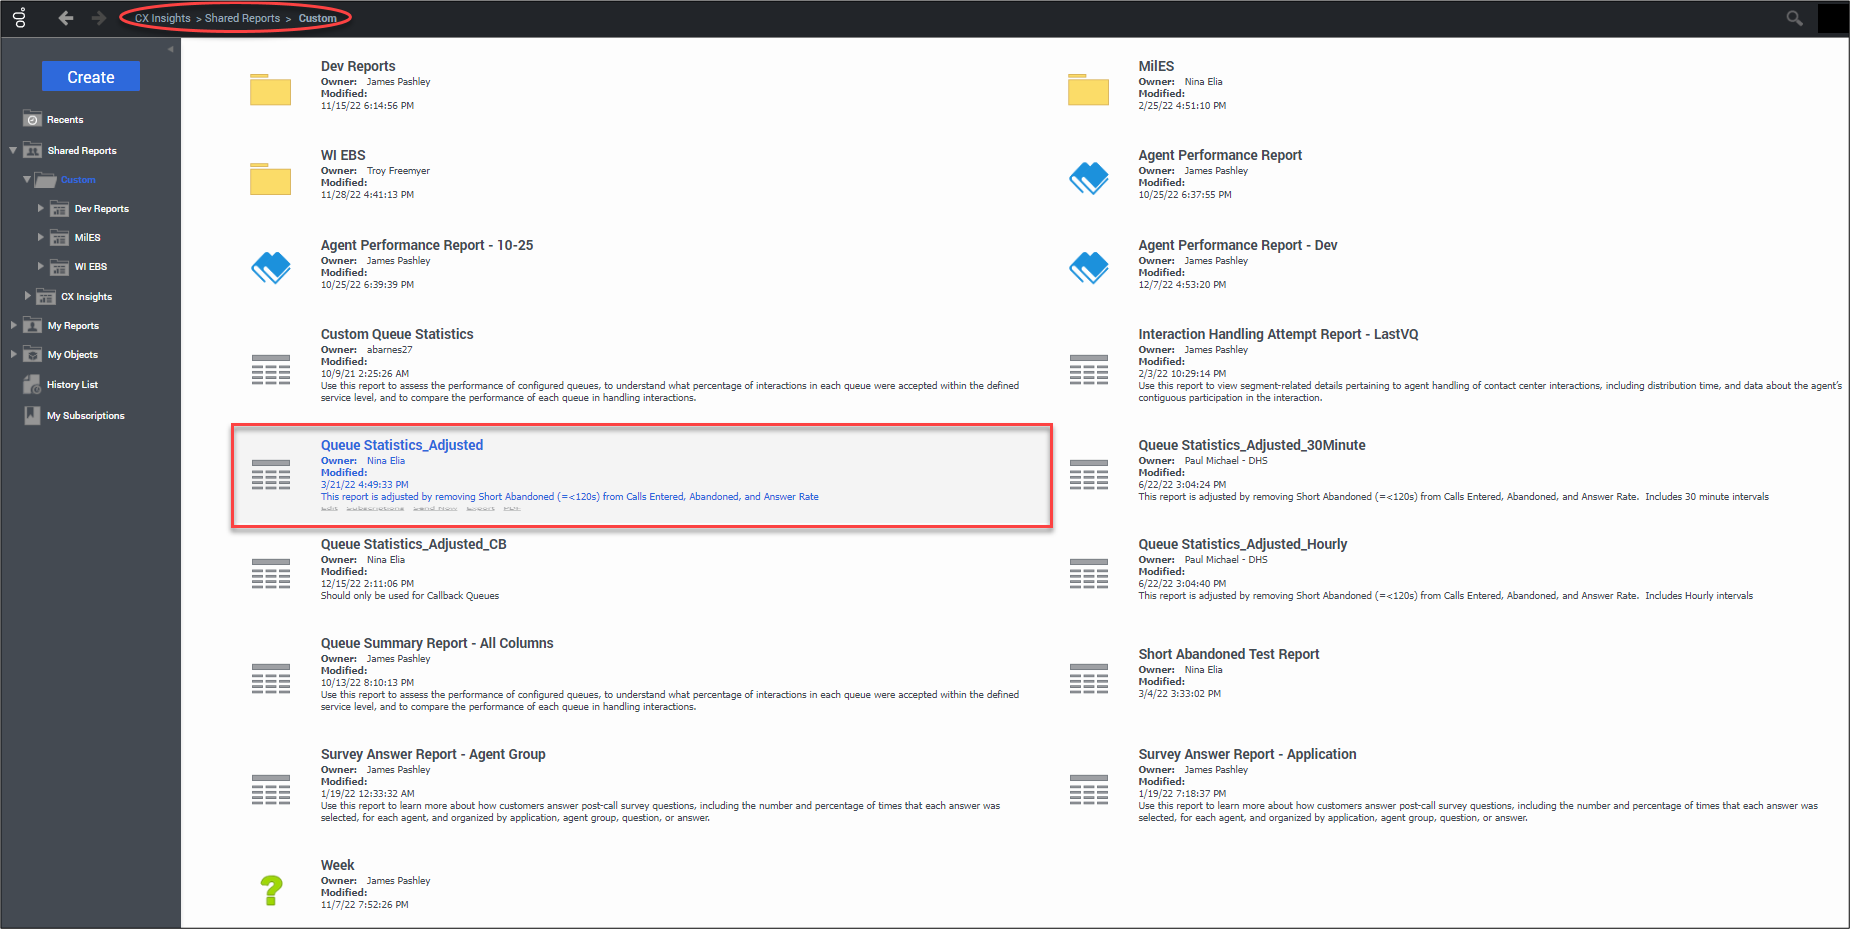
- From CX Insights > Home page, navigate to the folder that contains the desired report.
Select Shared Reports from the left menu or Browse section.
- Select the Custom folder.
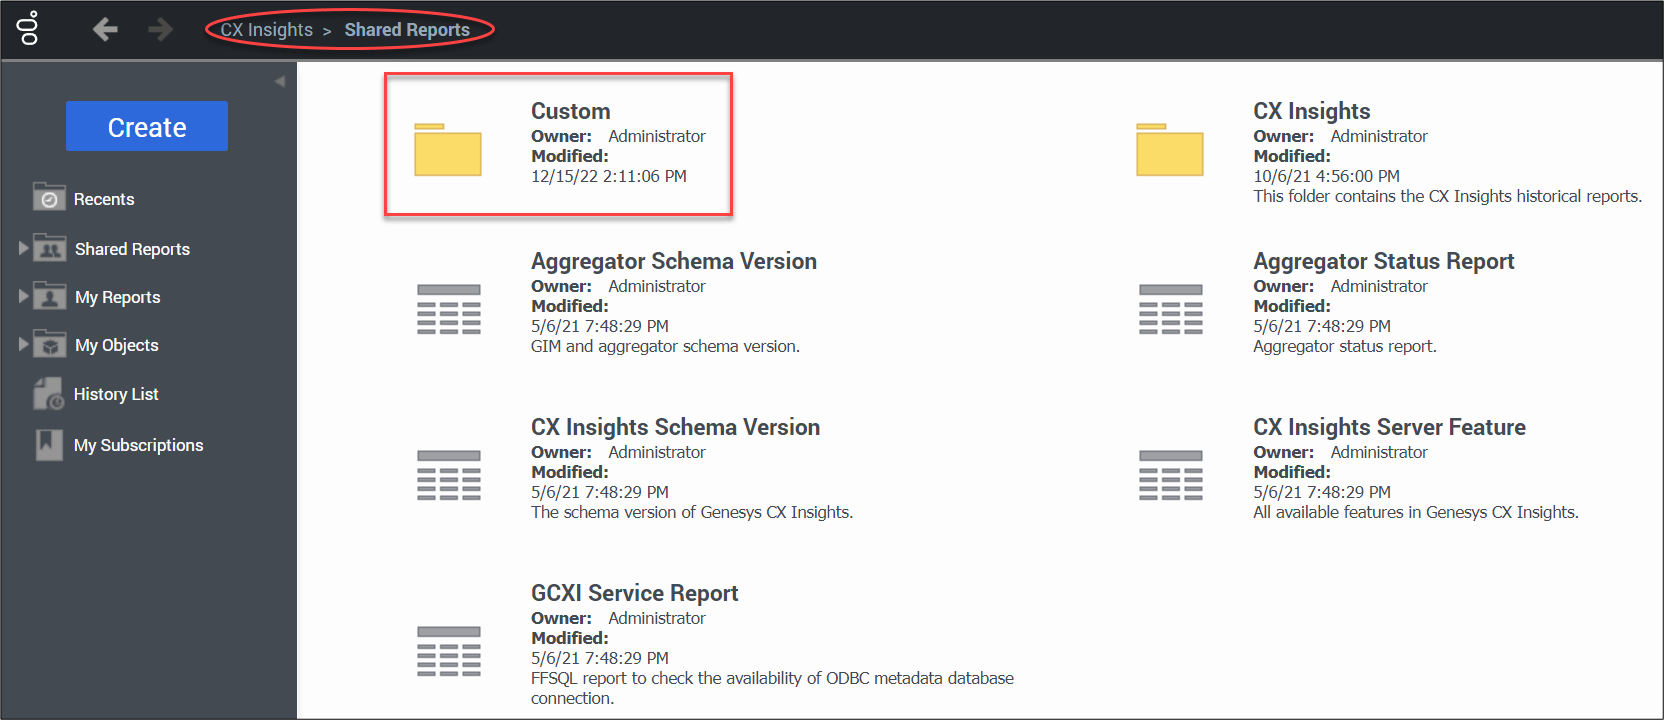
- Select the name of the report to be run.
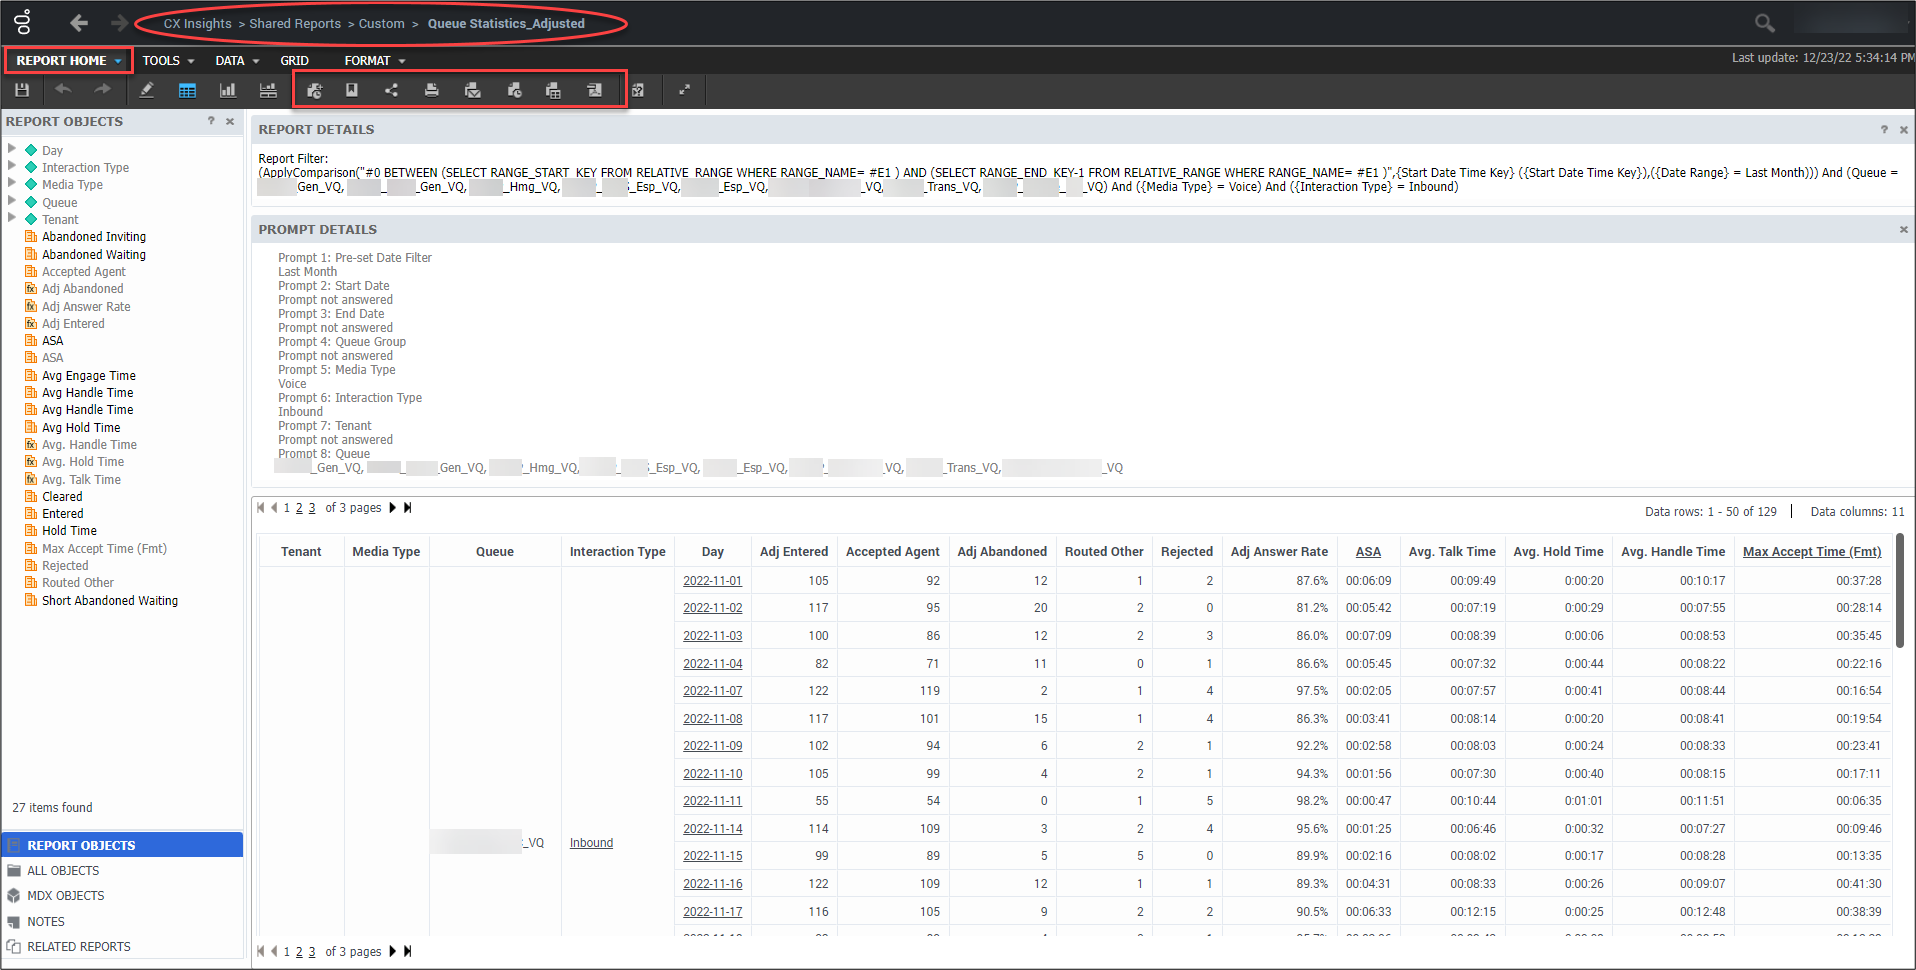
- The INDEX page displays. Update the INDEX filters then select Run Report.

- After selecting Run Report, the report is displayed. From the REPORT HOME tab there are additional features such as: Add to History List, Create Personal View, Share, Print, Send Now, Schedule Delivery to History LIst, Export or PDF.
The Queue Statistics_Adjusted report works best if run as a PDF or excel.
This page last updated in Release Number: 23-01
Release Date: 2/25/2023
Effective Date: 2/25/2023